Mysterium VPN Launches Linux Command-Line Client for Ubuntu and Debian


The Mysterium VPN team is thrilled to announce our Linux client, a command-line tool that brings VPN access to the terminal on Ubuntu and Debian. The launch expands Mysterium VPN support to Linux users, who can now authenticate, choose a location, and connect without leaving the command line.
What's New: Mysterium VPN on Linux
The client is called mystvpn, and it officially supports Ubuntu and Debian. Other distributions are not covered by this release.
It is terminal-only. There is no graphical interface, which suits the environments Linux VPN users most often need covered: remote servers with no display attached, containers, build machines, and setups where a connection needs to be brought up by a script rather than a click.
Full details are on the Mysterium VPN for Linux page.
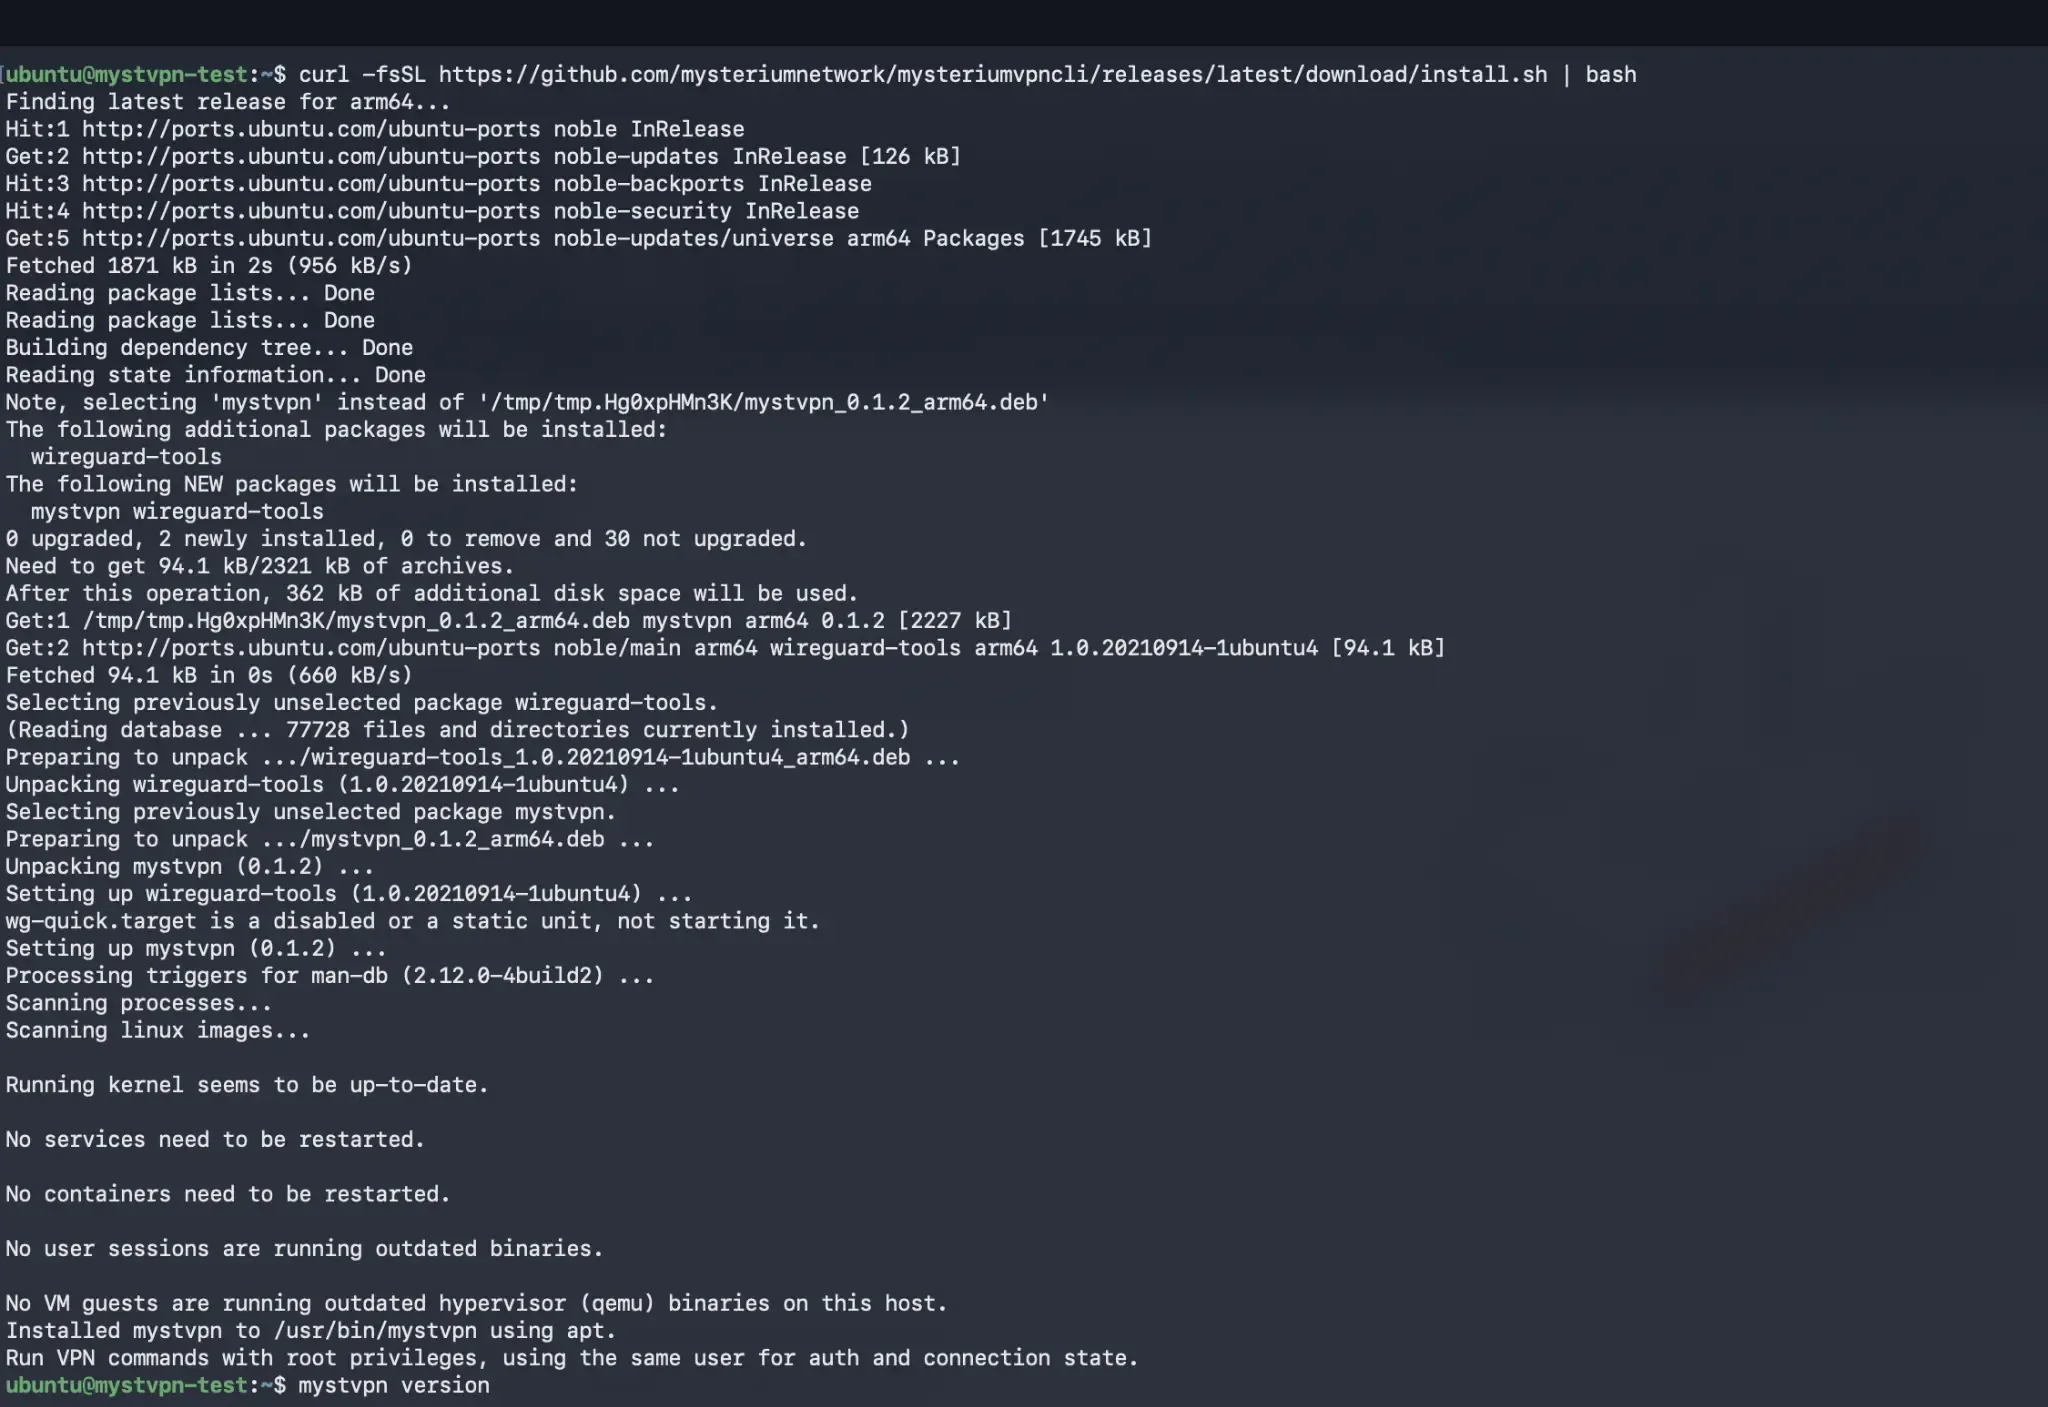
Automatic installation on Ubuntu ARM64: the installer installs mystvpn and wireguard-tools through apt.
What the CLI Supports
The client covers the complete connection workflow:
- Authenticate with an existing Mysterium VPN account;
- View available countries for a given IP type;
- Select an IP type – Residential or High-speed;
- Connect to a chosen country;
- Check connection status;
- Refresh the connection to request another IP;
- Disconnect;
- Log out.
Exact syntax for each is in the command reference further down.
Signing in works through a browser handoff rather than a password prompt. Running the authentication command prints a URL, which the user opens and approves from their Mysterium VPN account. The terminal picks up the session from there, which keeps account credentials out of shell history.
A Typical Session, Start to Finish
The sequence most users will follow looks like this:
- Install mystvpn from the official repository.
- Authenticate with mystvpn auth, then open the printed URL and approve access.
- Check available countries with mystvpn countries --ip-type residential.
- Connect with mystvpn connect --country DE --ip-type residential, substituting the country code you want.
- Check status with mystvpn status.
- Refresh with mystvpn refresh if a different IP is needed.
- Disconnect with mystvpn disconnect when finished.
Steps three through seven are the day-to-day loop. Authentication is a one-off until mystvpn logout clears the stored tokens.
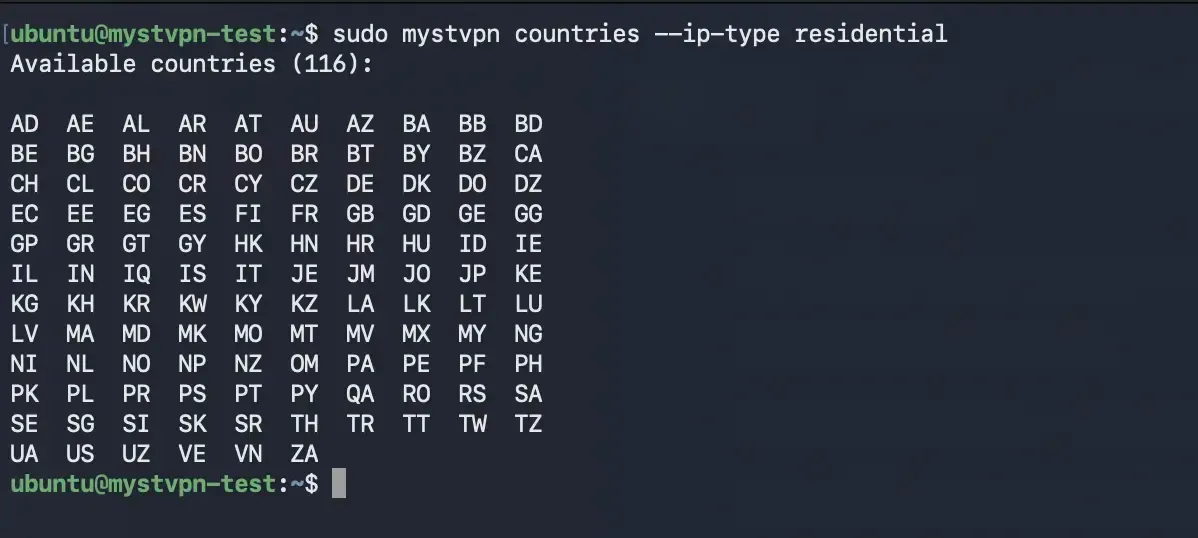
Residential country list captured during testing. Available countries and counts may change.
What Connect, Status, and Refresh Actually Do
Worth being precise about these, because CLI output invites a more literal reading than a GUI does.
- Connect creates or reuses the client's WireGuard keypair, requests a VPN configuration, writes local session state, and brings the tunnel up through wg-quick. On success, it prints exit_ip, country, and city. That output is the confirmation – if it prints, the connection is live.
- Status reads local CLI state only. It makes no API request, so it reports what the client believes about the tunnel on that machine rather than checking with a remote service. With no local session, it returns connected: no. For independently verifying the exit address, an external IP lookup is still the right tool.
- Refresh reuses the current country, IP type, WireGuard keypair, and managed config path. It brings the existing tunnel down, requests a new configuration, replaces the managed config, and starts the tunnel again. What it does not do is promise a different address – whether another IP comes back depends on availability in that country at that moment. In a well-supplied location, it usually works. In a thin one, it may return the same connection.
- Disconnect closes the remote connection, stops the tunnel, removes the CLI-managed WireGuard configuration, and clears active session state, printing Disconnected successfully.
- Logout goes further: if a session is active, it disconnects first, then clears stored authentication tokens and any pending authentication state, printing Logout successful. Authentication is required again after that.
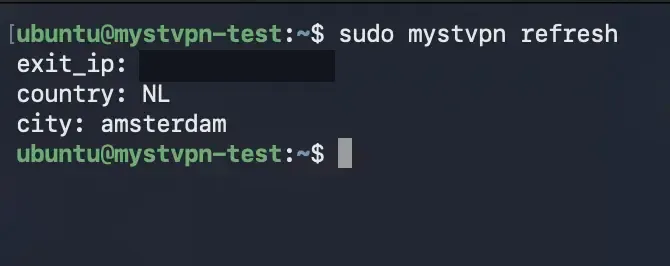
Successful refresh of the Netherlands session. The exit IP address is redacted.
Command Reference
| Command | What it does |
| mystvpn or mystvpn help | Prints the command overview. |
| mystvpn version | Prints the installed version. |
| mystvpn auth | Starts browser-based authentication. Prints an authorization URL, waits for approval, then stores access and refresh tokens locally. Takes no arguments. |
| mystvpn countries --ip-type residential | Lists available country codes for the selected IP type. The --ip-type flag is required because availability differs between types. |
| mystvpn connect --country {XX} --ip-type residential | Connects to a residential IP in the chosen country. Both flags are required. |
| mystvpn connect --country {XX} --ip-type hosting | Same, for the High-speed IP type. hosting is the flag value for High-speed. |
| mystvpn status | Reports the current connection state. Takes no arguments. |
| mystvpn refresh | Requests another connection in the same country and IP type. Takes no arguments, requires an active session. |
| mystvpn disconnect | Closes the connection and tears down the tunnel. Takes no arguments, requires an active session. |
| mystvpn logout | Clears stored authentication tokens. Disconnects first if a session is active. Takes no arguments. |
Country codes are two letters and are normalized to uppercase, so de and DE both work. The --ip-type value is either residential or hosting, and hosting is what the apps call High-speed – worth remembering, since the flag name and the product name differ.
Installation and Updates
Installation runs through the official Mysterium VPN GitHub repository, with two routes.
- The official installer detects the system architecture, installs the matching package, and handles the required dependencies, including the WireGuard tooling the client relies on. This is the path for most users.
- A downloadable .deb package is available directly from GitHub Releases for anyone who prefers to install by hand or needs to script the deployment across several machines.
Step-by-step instructions live on the Linux download page, and the source is public on GitHub. The Linux CLI Help Center article covers setup and troubleshooting in more depth.
Protocol and Requirements
The Linux client connects over WireGuard, using wg-quick to bring the interface up. WireGuard is the only protocol in this release, so there is no protocol selector in the CLI.
That is a reasonable default rather than a compromise. WireGuard runs inside the Linux kernel, which is where it performs best, and its roughly 4,000-line codebase is small enough to be read by one person – a property that tends to matter more to the sort of user installing a VPN from a terminal than it does to anyone else.


Save up to 85% off for Black Friday!
The ultimate digital shield, now at a fraction of the cost.

Gintarė is a cybersecurity writer at Mysterium VPN, where she explores online privacy, VPN technology, and the latest digital threats in editorial pieces. With hands-on experience researching and writing about data protection and digital freedom, Gintarė makes complex security topics accessible and actionable.